MySQL is an open-source database management system (DBMS) that stores data in tables. It was originally developed by Oracle Corporation, but now it is owned by Sun Microsystems.
If you are new to databases and EC2 Instance3s and want to create a new database on your server then we have some useful information for you.
EC2 Instances can be configured in various flavors, most popular including Debian, Ubuntu, and Linux Centos.
We shall discuss first the Debian application.

Install Prerequisites.
Before installing MySQL, make sure you have installed the following prerequisites:
1. A web server such as Apache2
2. PHP5
3. Perl 5
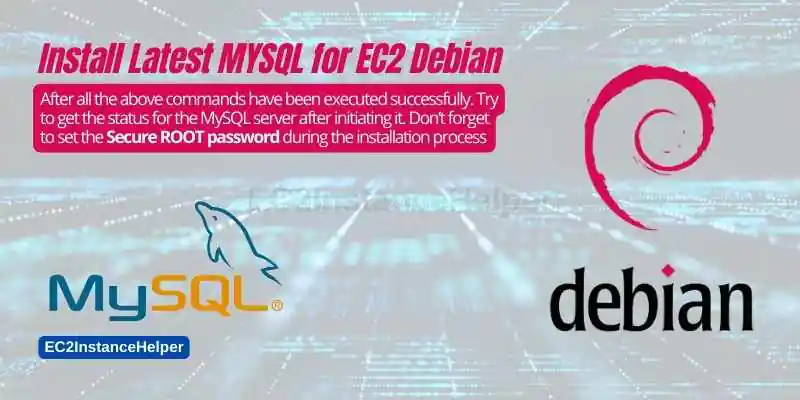
Install Latest MYSQL for EC2 Debian
sudo apt update

sudo apt install gnupg
wget http://repo.mysql.com/mysql-apt-config_0.8.20-1_all.deb
sudo dpkg -i mysql-apt-config_0.8.20-1_all.deb
sudo apt update
sudo apt install mysql-server
After all the above commands have been executed successfully. Try to get the status for the MySQL server after initiating it. Don’t forget to set the Secure ROOT password during the installation process.
mysql_secure_installation
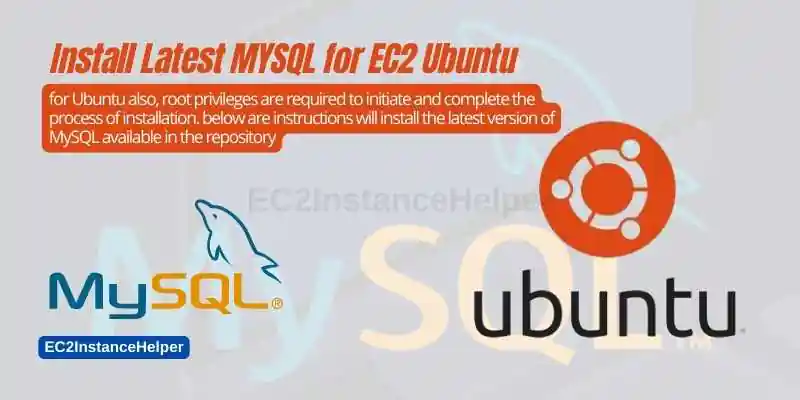
Install Latest MYSQL for EC2 Ubuntu
for Ubuntu also, root privileges are required to initiate and complete the process of installation. below are instructions will install the latest version of MySQL available in the repository.
sudo apt update
sudo apt upgrade

sudo apt install mysql-server
normally the MySQL server will start automatically after installation. to verify
sudo service mysql status
if the status returned is NOT as below
-----
----
Active: active (running)
Start the MYSQL process
sudo service mysql start
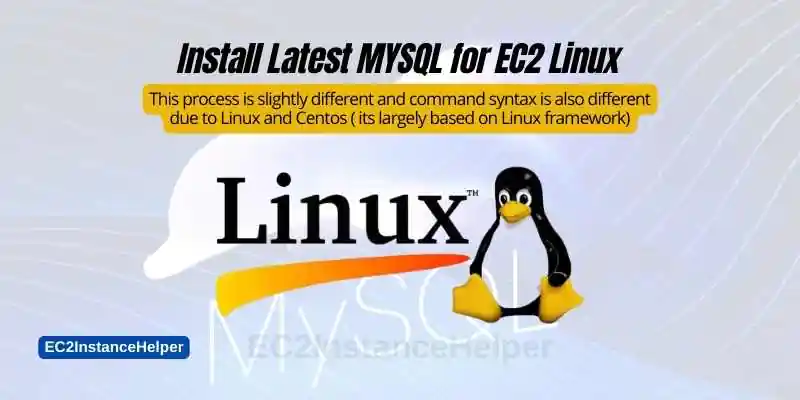
Install Latest MYSQL for EC2 Linux
This process is slightly different and command syntax is also different due to Linux and Centos ( its largely based on Linux framework )
sudo yum update -Y

sudo yum install -y mysql80-server
please note that the above installation command will install MySQL version 8.0. You may use a version of your choice in the correct format. for example below command will install version 7.2
sudo yum install -y mysql72-server
MySQL would automatically start, however you can check the status
sudo service mysqld status
if the status is not running, issue the start service command
sudo service mysqld start
Create Database User.
To create a database user, use the MySQL command-line client. First, log into the MySQL shell using the root account. Then type the following command:
mysql> CREATE USER ‘user’@’localhost’ IDENTIFIED BY ‘password’;
The above command creates a new user named “user” with the password “password”. You must specify the hostname (“localhost”) and the username (“user”).
Create Database.
Next, we need to create a database. Type the following command:
CREATE DATABASE my_database;
You should see the following message:
Database Created Successfully!
Configure Server.
Now, let’s configure our server.ini file. Open up the file with an editor (like Notepad) and add the following lines:
port = 3306
socket = /var/run/mysqld/mysqld.sock
Start MySQL Service.
To restart the service, type the following command at the prompt:
service mysqld restart